Suppose you are a civil engineer given the task of producing a 3D max rendering of a proposed structure and you know next to nothing on how to do that.That was exactly my position some time ago.After a lot of reading and following the tutorials finally i figured out a way to do that.In other words the easy way out.Accordingly this post describes how to save your day and it is not exactly methodology of a graphic designer.
First of all you need full and complete Auto cad Drawings drawn to a scale of the structure.In my example structure is a 23 story hotel building . You need all the floor plans drawn to the same scale & units saved as blocks.
This is the Cad drawing from ground floor to 10th floor.As you can see here drawing is saved in 3 layers. The idea behind is to save time during the 3D maX work.The outer boundary ,core and some interior walls are assigned to different layers.In addition to this i intend to use glass panels for outer walls.To save time in Max we have to do a trick here.Copy paste the wanted sections and put them in to a different layer which is shown in blue color in the following picture.Now Cad drawing is almost complete. Save it as a block. Hot key is W+ Enter .
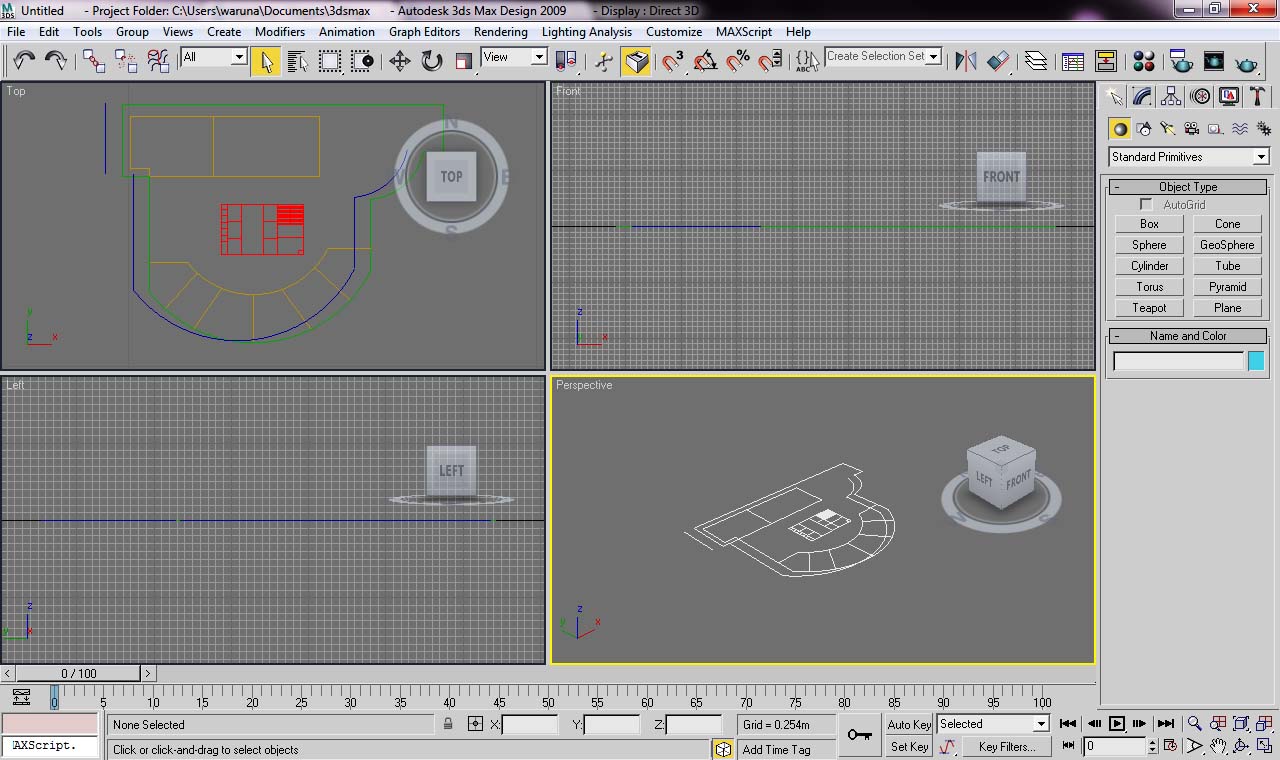
After saving the drawing as a block go to 3D max- file -import- Autocad Drawing-open.A window appears saying lot of stuff.Just make sure it shows the same units and hit ok. Now you see your plan in 4 view ports as shown in the following picture.
Now select the perspective view port and hit the "maximize viewport toggle " button on bottom right hand corner.
It gives a full screen view of the perspective viewport. Hit select object button on top.
give the amount as 3.7 m (floor to floor height) .Then hit enter.You can see the magic happen in the viewport. All lift core done in 2 seconds.(well almost ;) )
This is the concept.You can do the same to the other layers as well. At the end you will get something like this.
Contd on part 2


No comments:
Post a Comment